This is the first year that Lexi is in school (preschool) and needing to have Valentine's for her classmates. I knew I didn't want the traditional cartoon character ones that you can pick up anywhere for cheap, but I wanted the Valentine's to be fairly inexpensive.
I searched high and low on Pinterest and nothing was smacking me in the face saying, "DO THIS!!" Ok, I take that back...I REALLY love the "I "Wheelie" Like You" that includes the Hot Wheels, but she has more girls than boys in her class and I didn't know what to do for the girls. So, we made a trip to the Dollar Store.

I saw these packs of bubbles....3 in a pack for $1?!? Awesome. And they had boy and girl colors (not shown is a pack with green, blue, and yellow), too. I threw them in my cart while the gears were grinding as to what I could have as a saying....

"you blow me away valentine!" PERFECTO!!! I grabbed some lighter weight cardstock (on sale at Hobby Lobby for 50% off..score!) and set up the wording. This kind of thing is not my forte, let me tell you. I think it took me longer to get this set up than it did to go to the store, buy everything and put it all together! ha!
Once I got it printed out, I cut them all to fit right over top of the existing label. I didn't want to make things more difficult than need be, right? :)

I'm thrilled how they turned out. And, even with buying a pack of 50 sheets of cardstock, it was less than $10 for the whole thing!

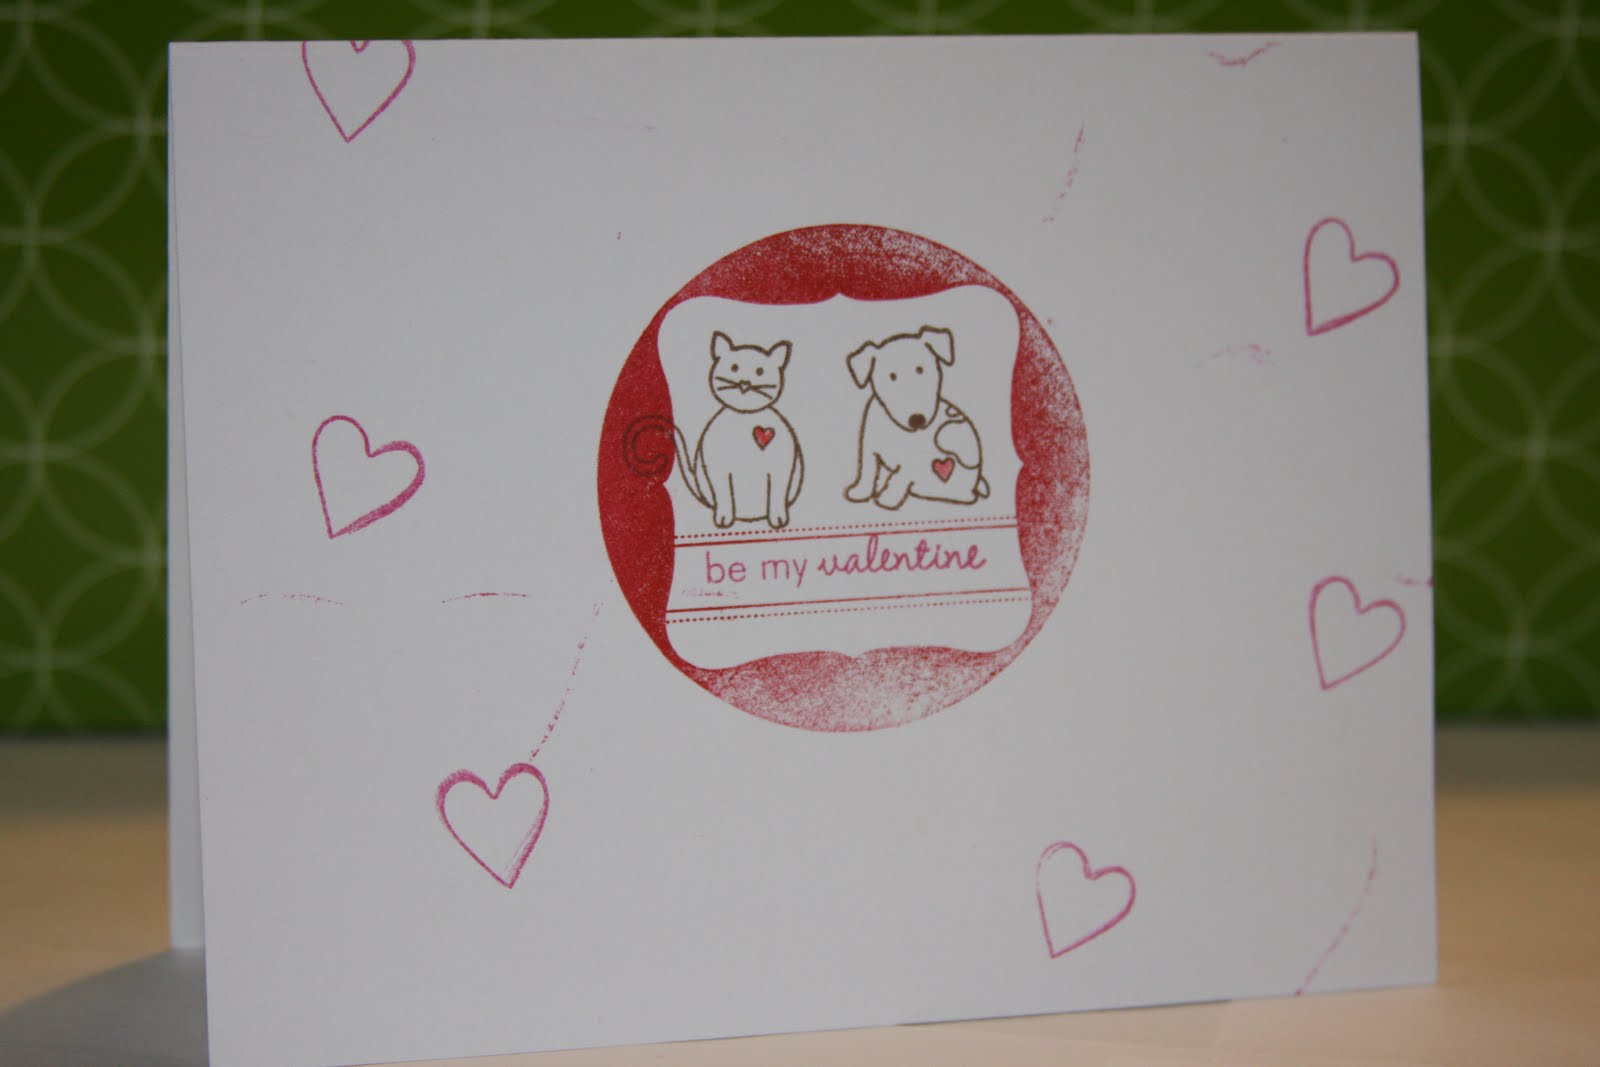
I asked Lexi if she wanted to write her name and she declined, so I wrote all the names. She did put the heart stamps on, though, after picking out her favorite color (PINK) to stamp them in! {Note: I used
MTF Jotted for my text}
Happy Valentine's Day!


 "you blow me away valentine!" PERFECTO!!! I grabbed some lighter weight cardstock (on sale at Hobby Lobby for 50% off..score!) and set up the wording. This kind of thing is not my forte, let me tell you. I think it took me longer to get this set up than it did to go to the store, buy everything and put it all together! ha!
 I asked Lexi if she wanted to write her name and she declined, so I wrote all the names. She did put the heart stamps on, though, after picking out her favorite color (PINK) to stamp them in! {Note: I used MTF Jotted for my text}